


Make the Niki's Butterfly knot | Tutorial
In this photo tutorial, you will see how to knot the Niki's Butterfly pattern. The Daylight knot was designed by Nicole Damer and is easy to make.
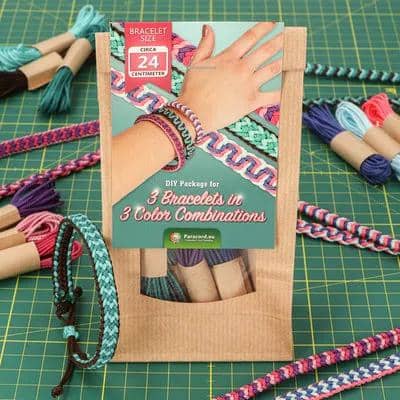
Make your own paracord bracelet without buckle. You use 3 colours of micro cord for this thin paracord bracelet. With these 3 tutorials, you have all the necessary instructions for making such bracelets.
On this page you will find instructions for making 3 different bracelets with micro cord. We assume in this article that you are using the DIY kit for making micro cord bracelets. Of course you can also make these bracelets without this kit, on the product page you will find the materials you need.
This is what you need in addition to the rope when making the bracelets:
A jig is also practical for tensioning your work, but it’s not required. You can also come up with your own creative way of attaching your work.
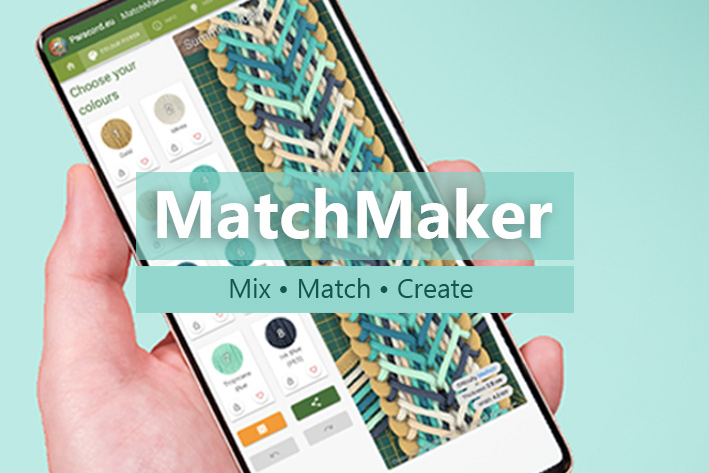
In the kit you will find 9 colours. The label shows 3 standard colour combinations, but you can of course make your own combinations with these 9 colours.
The start of the paracord bracelet is the same for all three versions. You can see how to do this in the video for each version.
First find out what the size of your wrist is; you can use a tape measure for this. Your wrist circumference determines the length of the set-up. For making the bracelet with micro cord you have to add 0.5 cm to the wrist size. Are you making a bracelet for a wrist with a circumference of 15 cm? Then your set-up should be (15 + 0.5 =) 15.5 cm.
Now cut two pieces of about 20 cm. It doesn't matter which colour you choose for this, it doesn't have to be the same colour you are going to use for the set-up either. Make two loops out of these pieces of cord by tying the ends together.
Next, you are going to make the set-up itself. Take the rope you are using for the set-up and attach it to the two loops you made. You do this using the Kosmetik 2.0 technique. Double-check the length of your set-up before you start knotting the bracelet.
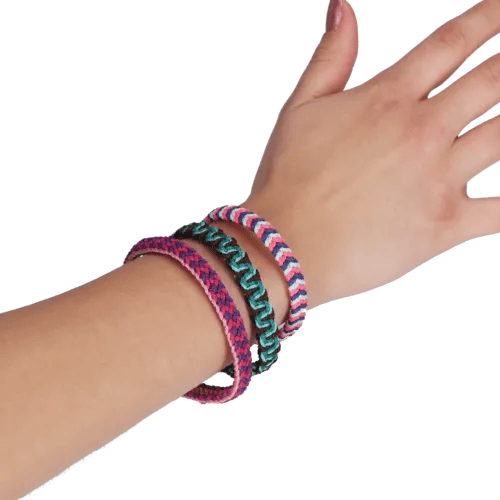
The Solomon Belly Bar knot can be made with a different number of colours, here we will make it with three colours. Follow how the knot is made in the video and repeat these steps until you have knotted the whole bracelet.

With Luna’s Crown Trio, you use one colour for the edge and use the other two colours to create the crown shape in the middle. Sometimes the knot is also called Luna’s Crown Trail, which is because the weave resembles the “Crown Trail” knot.

The 3 Colour Snake Belly is a classic paracord knot. It is easy to make, even if you don't have much experience. By tying this pattern with thin paracord, you can make an elegant bracelet.

The end of the bracelet, just like the beginning, is the same for each of these three versions. In these tutorials, we make a bracelet without a clasp or buckle and instead make a sliding closure from the cord itself.
Choose the colour you want to use for the closure and cut a piece of about 40 cm. Then fold the two loops of the bracelet over each other and hold this in place with tape. Now tie the cobra knot several times around these loops with the 40-cm rope.
After tying this knot several times, cut the strands and burn the ends. Push them flat with your scissors.
Now the bracelet is almost ready. You can make the ends of the bracelet even neater by cutting the string and burning it. Is the bracelet still a little too big? Then you can unknot the loops, cut off another piece of the loop and tie a knot again.
In this photo tutorial, you will see how to knot the Niki's Butterfly pattern. The Daylight knot was designed by Nicole Damer and is easy to make.
We couldn’t resist the cute bag charm trend. Make your own leather bag charm with our kangaroo or nappa leather. Follow our tutorials and create your custom key ring bag charm!
In this photo tutorial, you will see how to knot the Daylight pattern. The Daylight knot was designed by Silke Engels and is of an intermediate level.
In this photo tutorial, you will see how to knot the Cambio pattern. The Cambio knot was designed by Annet Eul and is of an intermediate level.
In this photo tutorial, you will see how to knot the Luna’s Caramella pattern. The Luna’s Caramella knot was designed by Saskia Meißner and is of intermediate level.
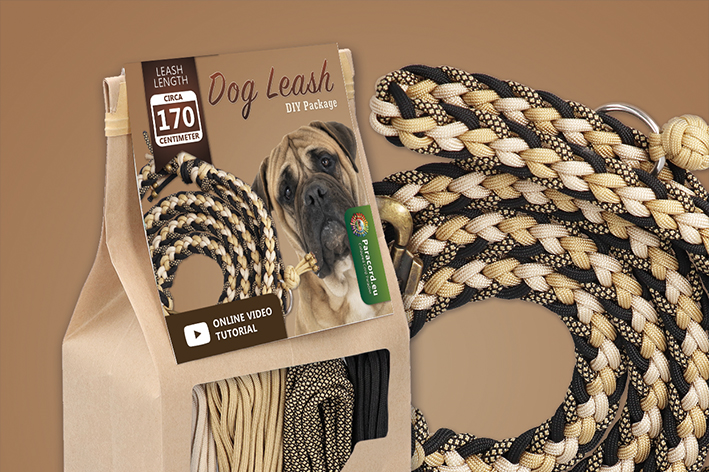
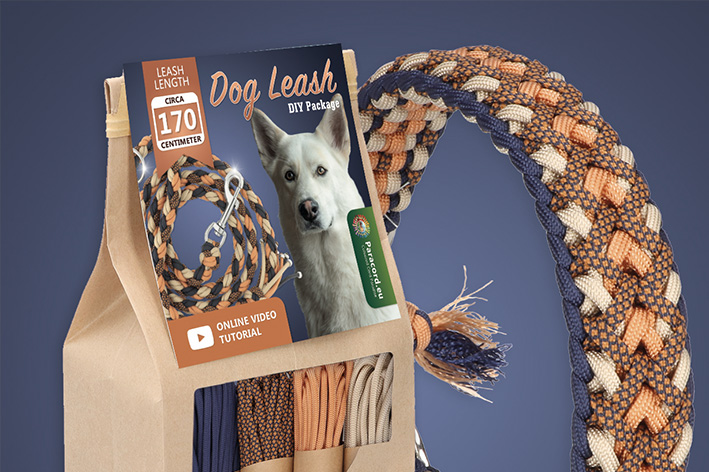
Want to make your own colourful dog leash from BioThane and paracord? BioThane is a strong, water-resistant and easy-to-clean material - ideal for a dog leash! In this blog, we explain step by step how to make your own leash. Using a clear pattern, you can easily determine the right size of the handle and mark the holes in the right place.