


Make the Niki's Butterfly knot | Tutorial
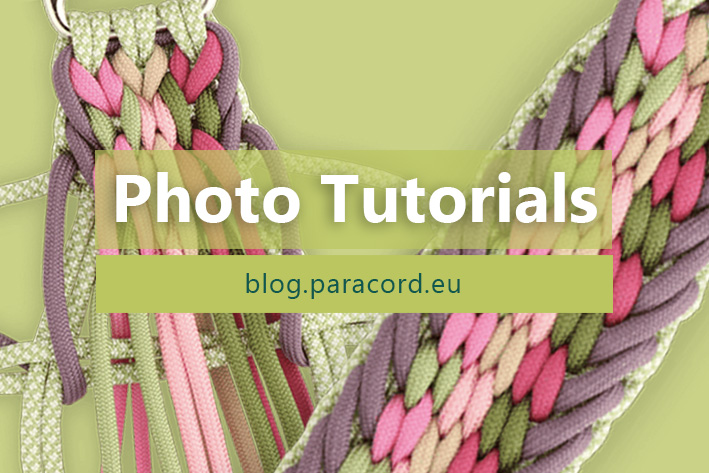
In this photo tutorial, you will see how to knot the Niki's Butterfly pattern. The Daylight knot was designed by Nicole Damer and is easy to make.
Want to make your own bracelet using Paracord? The first thing you need to know in advance is what size your wrist is. Measuring your wrist is relatively simple, but there are a couple of things you need to consider.
There are a number of ways to measure the size of your wrist. For all methods, please bear the following in mind:
A number of different tools can be used when measuring your wrist. Two of these are discussed below: a tape measure (or similar alternative) and a wrist meter.
Place the tape measure around the wrist in the place where the bracelet will be. Make sure that it fits tightly, leaving enough room to be able to move the tape measure. You can now see what size your wrist is.
Don't have a tape measure but you do have a straight ruler? Then take a piece of string or a piece of paper and do the same as you would with a tape measure. Make sure you indicate on it to which point you have measured. Put this piece of string or paper next to your ruler and read the measurement.
Are you planning to make bracelets on a more regular basis? Then a wrist meter might be a perfect tool for you. This device lets you quickly determine the size of someone's wrist.

Pull the tape from the meter and secure to the other side. Make sure the opening is spacious enough so your hand can easily fit through it. Put your hand through the loop and press the button on the front of the meter. The tape measure is now pulled tight by the meter itself. Make sure you have still enough room to move the tape and then read the measurement.
You've now successfully measured your wrist size. Want to get started with your very own Paracord bracelet? Take a look at this tutorial on how to make a bracelet using the cobra knot, which also explains how to take the length of the buckle into account when making a bracelet.
In this photo tutorial, you will see how to knot the Niki's Butterfly pattern. The Daylight knot was designed by Nicole Damer and is easy to make.
In this photo tutorial, you will see how to knot the Daylight pattern. The Daylight knot was designed by Silke Engels and is of an intermediate level.
In this photo tutorial, you will see how to knot the Cambio pattern. The Cambio knot was designed by Annet Eul and is of an intermediate level.
In this photo tutorial, you will see how to knot the Luna’s Caramella pattern. The Luna’s Caramella knot was designed by Saskia Meißner and is of intermediate level.
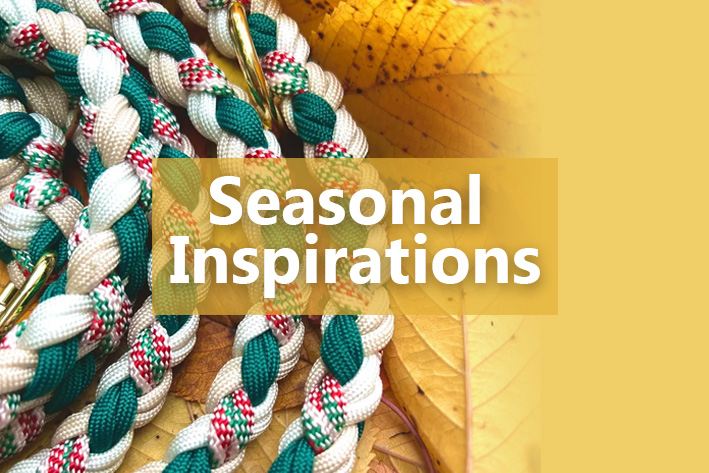
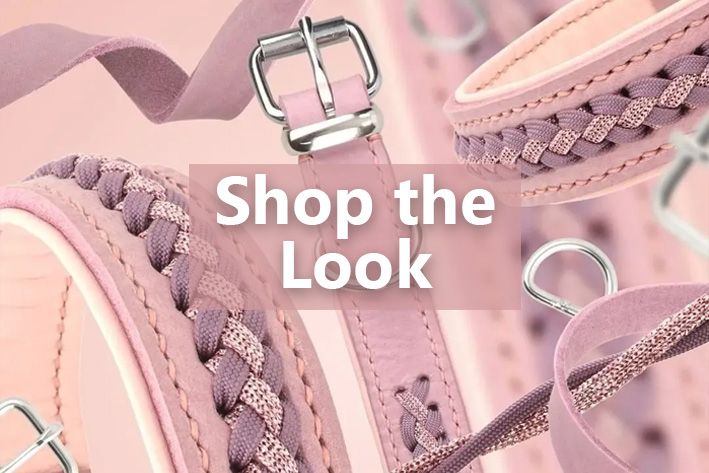
Want to make your own colourful dog leash from BioThane and paracord? BioThane is a strong, water-resistant and easy-to-clean material - ideal for a dog leash! In this blog, we explain step by step how to make your own leash. Using a clear pattern, you can easily determine the right size of the handle and mark the holes in the right place.
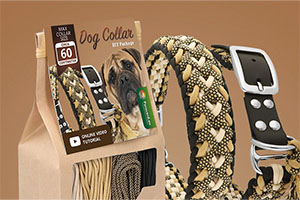
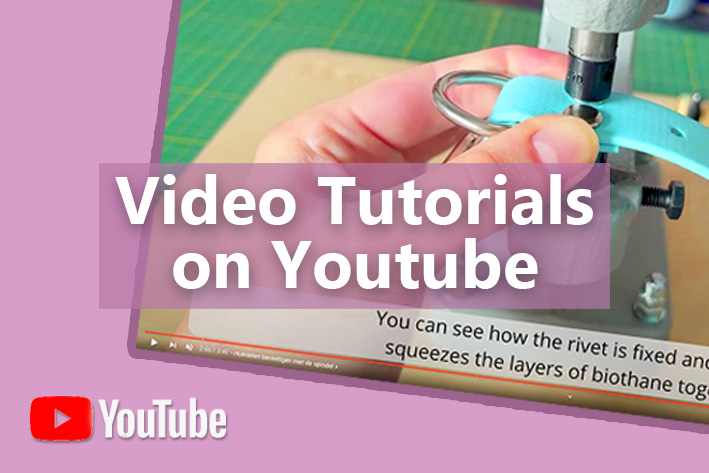
Make your own custom and colourful collar from BioThane and paracord! BioThane coated webbing is a strong, water resistant and easy to clean material, perfect for a collar. Here is a step-by-step guide with video tutorial for making an adjustable BioThane dog collar finished with paracord.