A very annoying scenario: you measured correctly at the beginning, but now the home-made collar seems to be the wrong size. Why is this? And how can you prevent it?
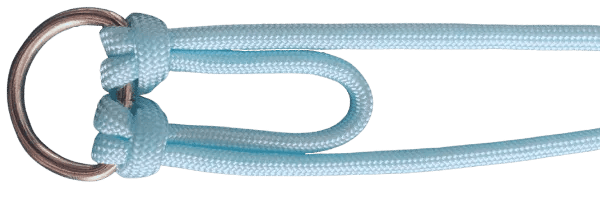
First a general tip which can always be useful. Are you unsure whether the collar will be big enough? Then make sure there is some extra space in the setup by using an extra loop (see photo). No longer need the extra space at the end? When finishing off, you can incorporate the extra loop in such a way that it is no longer visible.
1. Setup cords are (too) tight
Do you knot very tightly? In that case it might be that the setup cords are continually moving along with the knots and therefore no longer have the correct, straight length. This causes the setup cords to be stretched and as soon as you remove the knotted work from the jig, the cords spring back and the collar 'shrinks'.
You may knot so tightly that you have to remove your work from the jig prematurely, because the setup cords are pulled too far to the left and right, making the setup too short for the position of the jig.
So knotting tightly can be a problem, but how do you take it into account? After setting up the length, you can tension your jig very tightly, thereby preventing the setup cords from being able to move along with the knots. Or you can decide to make your setup a little longer, because you know you tend to knot tightly. For a 26 cm collar for example, you might then use 0.5 cm extra, and for a 58 cm collar, 2 cm extra.
2. Removed from the jig in between
Maybe you have removed your work from the jig part way through, for whatever reason. Then you put the collar back on the jig, but not at the same length. Then you won't get the collar to be the correct size. Make sure that when you take your knotwork off the jig in between, you check the setup length very carefully!
3. Changes in neck circumference
Did you have the correct size, but the collar suddenly doesn't fit? It could be that the dog is flexing his throat, because he doesn't want to wear the collar, but it could also be that his coat has changed.
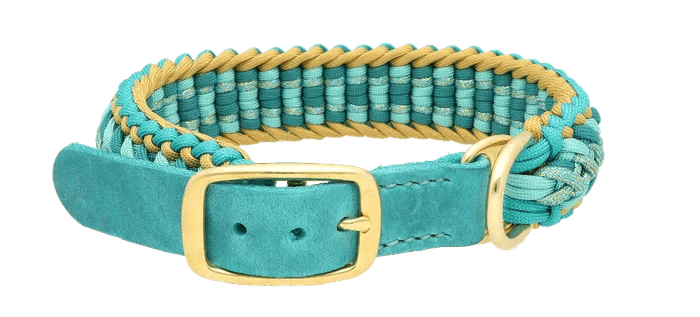
A summer coat is often thinner than a winter coat. Especially with dogs such as Akita Inus or Klee Kais you can notice a difference of centimetres. The best way to deal with these types of differences is by using an adapter: a belt buckle in combination with a piece of leather or biothane.
4. Other materials
Did you use materials of different thicknesses or quality? Then this may result in the whole thing becoming thicker, and making the collar therefore too small. When you get creative with glossy cord, leather, cotton or simply different types of Paracord, you will get different dimensions. Your knotwork may become smaller, narrower, more flexible or even too large.
Are you planning to work with different materials? Then knot test pieces in advance. Knot a piece of 10 cm using only the original cord used in the instructions and then with all other materials. Not only can the thickness of the material produce different results, but the different properties of the materials can also create a different end result.
This is a matter of playing and practising, there is no fixed formula. So my tip is: take a left-over piece and start practising with it, get your knot perfect and see how much thicker or thinner your knot is compared with tutorials.
5. Flat length vs. circumference
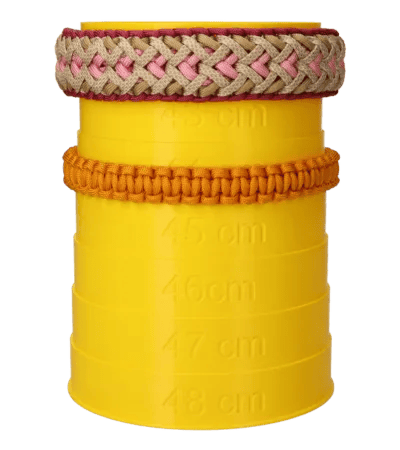
As already mentioned in previous blogs, it is important that you take the inner circumference of the collar and not the flat length when measuring. The image below shows two collars that are exactly the same length.
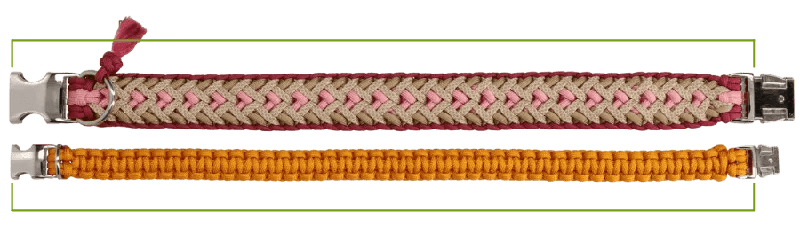
These collars have exactly the same length, but you can see from the image with the measuring tower that they do not have the same inner size. The collar with the cobra knot has an inner size of 44 cm, whereas the one with Luna's Fly Trap measures 42 cm. Because the knots used have a different thickness, the inner size will also be different. Read more about knot thickness here.
So the length of the flat collar does not give all the information needed. It is therefore important to base the sizes on the circumference of the dog's neck. This is easy to measure for example with the collar measuring tool by FSTS. You put this inside a closed old collar and can immediately read off the correct value. When doing so make sure that you do not push or pull, but just lay the tape around the inside of the collar.
You can use this value to calculate what the knotted length of the collar needs to be. You can do this by using the Jig Formula.