


Make the Niki's Butterfly knot | Tutorial
In this photo tutorial, you will see how to knot the Niki's Butterfly pattern. The Daylight knot was designed by Nicole Damer and is easy to make.
Take on the challenge of "Cookie's Wave", Silke Engels' new knot. In this tutorial, you will see step by step how to make this knot with 8 ropes.
The new knot "Cookie's Wave" by Silke Engels is made with 8 paracord ropes. This knot is about 4.4 cm wide and 1.1 cm thick when tied with paracord 550.
Because you're working with 8 ropes, keeping track can be quite complicated. Don't have much knotting experience yet? Then you can also opt for an easier knot, such as the Double KBK Bar.
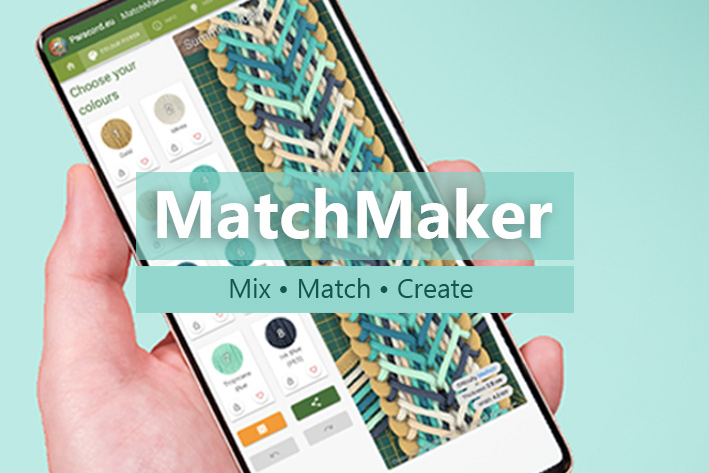
You start this knot with the Kosmetik 2.1. In the MatchMaker, you can calculate how much you need of each colour and how long the set-up should be for your project.
After you have made this double set-up, add four other ropes.
With each colour, make sure the left and right strands are the same length.

Colour 1: Holy Guacamole & White Diamonds, colour 2: Marvelous Mauve, colour 3: Rose Pink, colour 4: Mocca and colour 5: Fuchsia.


Colour 6: Holy Guacamole, colour 7: Pastel Pink and colour 8: Fern Green.


Repeat these steps until your work is long enough.

On the left in the image you can see what the front of the knot looks like and on the right you can see the back. Are the six loops in a row (i.e. from the same knot) bumpy? Then the strands are probably not pulled tight enough.
Completed your knotting and ready to finish your work? Check out these tips for finishing your paracord project.
This beautiful new knot is designed by Silke Engels. We would like to thank her for allowing us to create the first tutorial for this knot.
Want to know more from Silke or be the first to know about her new knots? Follow her on Instagram and Facebook!
In this photo tutorial, you will see how to knot the Niki's Butterfly pattern. The Daylight knot was designed by Nicole Damer and is easy to make.
We couldn’t resist the cute bag charm trend. Make your own leather bag charm with our kangaroo or nappa leather. Follow our tutorials and create your custom key ring bag charm!
In this photo tutorial, you will see how to knot the Daylight pattern. The Daylight knot was designed by Silke Engels and is of an intermediate level.
In this photo tutorial, you will see how to knot the Cambio pattern. The Cambio knot was designed by Annet Eul and is of an intermediate level.
In this photo tutorial, you will see how to knot the Luna’s Caramella pattern. The Luna’s Caramella knot was designed by Saskia Meißner and is of intermediate level.
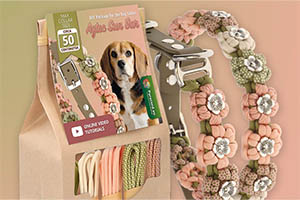
Want to make your own colourful dog leash from BioThane and paracord? BioThane is a strong, water-resistant and easy-to-clean material - ideal for a dog leash! In this blog, we explain step by step how to make your own leash. Using a clear pattern, you can easily determine the right size of the handle and mark the holes in the right place.