


Make the Niki's Butterfly knot | Tutorial
In this photo tutorial, you will see how to knot the Niki's Butterfly pattern. The Daylight knot was designed by Nicole Damer and is easy to make.

Tie the Double KBK Bar by J.D. Lenzen with paracord. In this photo tutorial you will see how to tie this knot and how to end your knotting with a clean finish.
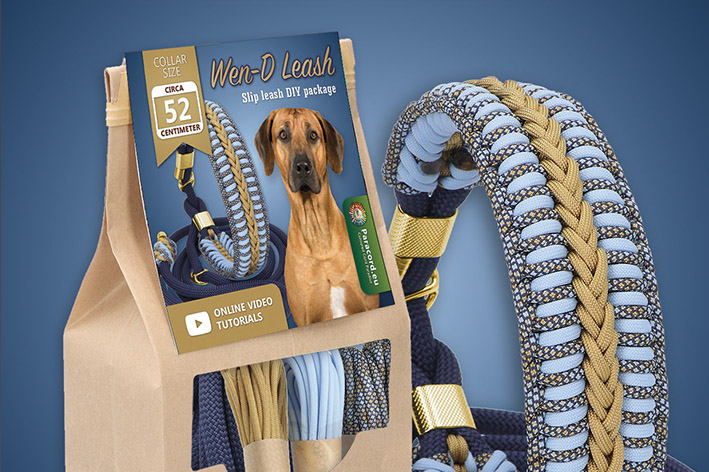
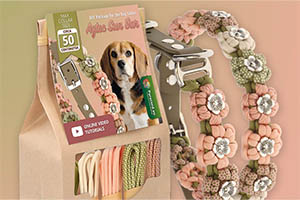
The Double KBK Bar is designed by J.D. Lenzen. This knot is about 0.9 cm thick and 4 cm wide when using paracord type 3. The knot itself is not difficult, but the finishing off can be a little different than you are used to.
For the Double KBK Bar you use three colours of paracord. You can use different kinds of closures or spacers, in the tutorial we use two D-rings of 28 mm.
A single setup (Kosmetik 2.0) is used here, this is also safe to use for dog collars.
After you have made the Kosmetik 2.0 with colour 1, you attach the two loose strands with a temporary knot to the closure.

Then add the other colours to the setup.

Colour 1: Taupe, colour 2: Soft Skies Blue and colour 3: Vanilla Yellow. The colours in the photos vary slightly from reality due to editing.
Measure again whether the length of your setup is correct and check whether the two strands of each colour are the same length.


Repeat the six steps above until your knotwork is the desired length.

After you have knotted the desired length it is time to start backstitching. This works a little differently with this knot than with most other knots. Here we will show you how to mimic the setup when finishing off.
Make sure you have these tools at hand:

Turn your knotwork over. Use a paracord needle or a crochet hook to pass the loose strands of colour 1 through the cow hitch knot and under some loops of colour 3. You can see how the strands coincide with other strands of colour 1 in the process.


We would like to thank the designer J.D. Lenzen for giving us permission to use this knot.
In this photo tutorial, you will see how to knot the Niki's Butterfly pattern. The Daylight knot was designed by Nicole Damer and is easy to make.
We couldn’t resist the cute bag charm trend. Make your own leather bag charm with our kangaroo or nappa leather. Follow our tutorials and create your custom key ring bag charm!
In this photo tutorial, you will see how to knot the Daylight pattern. The Daylight knot was designed by Silke Engels and is of an intermediate level.
In this photo tutorial, you will see how to knot the Cambio pattern. The Cambio knot was designed by Annet Eul and is of an intermediate level.
In this photo tutorial, you will see how to knot the Luna’s Caramella pattern. The Luna’s Caramella knot was designed by Saskia Meißner and is of intermediate level.
Want to make your own colourful dog leash from BioThane and paracord? BioThane is a strong, water-resistant and easy-to-clean material - ideal for a dog leash! In this blog, we explain step by step how to make your own leash. Using a clear pattern, you can easily determine the right size of the handle and mark the holes in the right place.