


Make the Niki's Butterfly knot | Tutorial
In this photo tutorial, you will see how to knot the Niki's Butterfly pattern. The Daylight knot was designed by Nicole Damer and is easy to make.
Knot LTR's One Way pattern with this tutorial. With this knot, you use paracord type 1, 2 and 3 at the same time.
This tutorial is made by Romy Kuijper, the designer of the knot LTR's One Way. Thanks Romy!
In LTR's One Way, you use 3 different paracord types. Two type lll ropes are used for the edges, next to the edge you see one type ll rope and in the middle you use four type l ropes. So the knot is made with 7 colours and is about 45 mm wide and 10 mm thick.
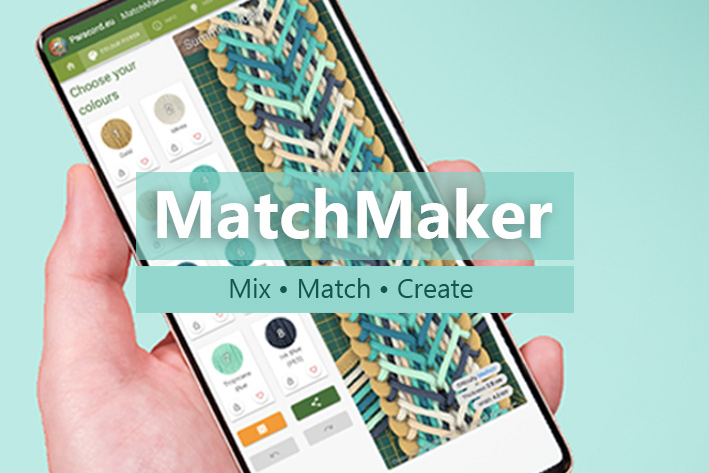
In this tutorial we use the classic colour gradient with the 4 colours in the middle, but of course you can also choose to use a different pattern, for example by using only 2 colours. Combine the colours in the MatchMaker and use your imagination!

For the LTR's One Way, use Kosmetik 2.0 as set-up. Then add colour 2 through the set-up knots and use colour 3 to make an extra cow hitch knot in the middle. Pass colours 4 to 7 through the cow hitch knot of colour 3.

Colour 1: Juicy Purple (Type lll), colour 2: Lime Green (Type lll), colour 3: Turquoise (Type ll) colour 4: Yellow (Type l), colour 5: Neon Pink (Type 1), colour 6: Apricot Orange (Type l) and colour 7: Rose Pink (Type l).
After adding all the colours, you are ready to start tying the knot itself. Make sure to check that the two strands of each rope are about the same length on each side.

In step 1, the left strand of colour 1 goes underneath the first vertical strand and then over the other vertical strand. In step 2, repeat this for the right strand of colour 1.


Step 19: Take the right-hand type 1 strand, in this case colour 7, and let it go around the horizontal strands in the middle. Make sure you add the other colours to the right of this strand in the next steps.


At steps 29 and 30, you can see that the colours have all moved up one place. By repeating this at each step, you get the gradient in the middle.


In step 33, again let the rightmost type 1 strand go to the left. Make sure you repeat this each time to get the desired pattern.


In this photo tutorial, you will see how to knot the Niki's Butterfly pattern. The Daylight knot was designed by Nicole Damer and is easy to make.
We couldn’t resist the cute bag charm trend. Make your own leather bag charm with our kangaroo or nappa leather. Follow our tutorials and create your custom key ring bag charm!
In this photo tutorial, you will see how to knot the Daylight pattern. The Daylight knot was designed by Silke Engels and is of an intermediate level.
In this photo tutorial, you will see how to knot the Cambio pattern. The Cambio knot was designed by Annet Eul and is of an intermediate level.
In this photo tutorial, you will see how to knot the Luna’s Caramella pattern. The Luna’s Caramella knot was designed by Saskia Meißner and is of intermediate level.
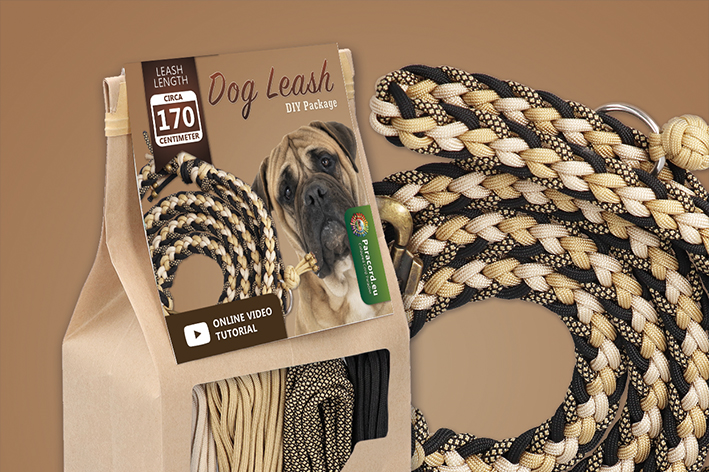
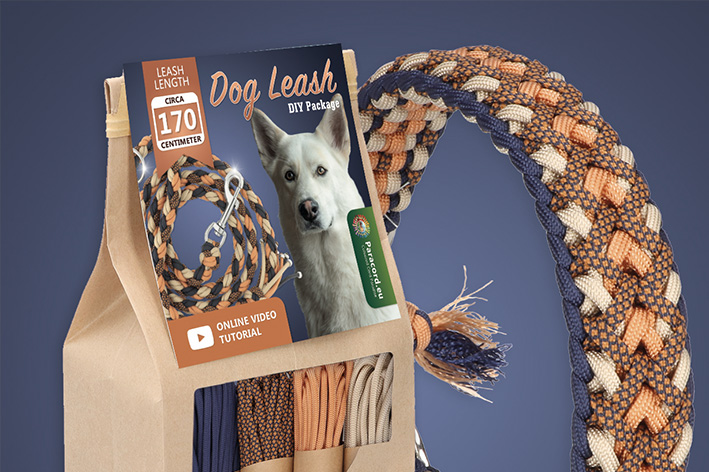
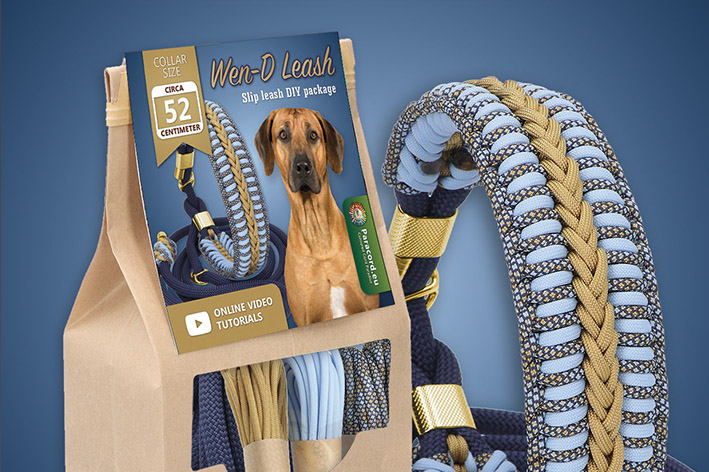
Want to make your own colourful dog leash from BioThane and paracord? BioThane is a strong, water-resistant and easy-to-clean material - ideal for a dog leash! In this blog, we explain step by step how to make your own leash. Using a clear pattern, you can easily determine the right size of the handle and mark the holes in the right place.